
Plan campsite lighting by using the least bright light that safely serves each task, aiming beams down and away from other sites, and turning lights off when you finish. Start with a headlamp or small, shielded light for close work; reserve broad lighting for shared tasks, and keep it low and brief. Before dark, check where beams land from a neighbor’s likely view.
1. Check site rules and surroundings
Look for campground rules on quiet hours, lanterns, generators, fires, and light use. Policies vary by campground and may restrict certain equipment or activities. Follow posted rules and staff instructions. If rules are unclear, ask campground staff rather than assuming bright lights are acceptable.
During daylight, note nearby tent doors, windows, picnic tables, paths, and shared facilities. Identify which directions are most likely to carry light into another site. Trees and shrubs can block some glare, but do not rely on them as full screens: foliage may be thin, change with wind, or sit outside your assigned site.
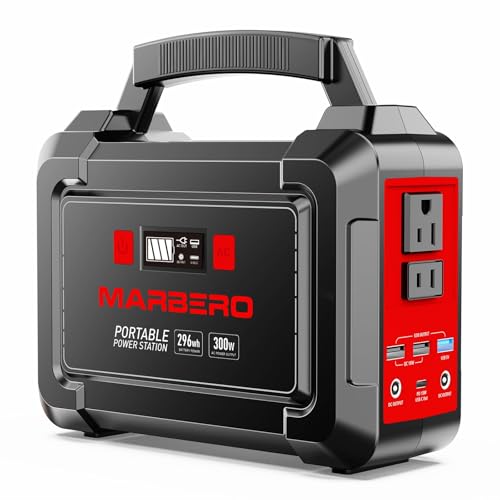
For other power and lighting planning, see this guide to choosing camping power station capacity. More battery capacity does not make a light considerate; placement, brightness, and duration matter more.
2. Match light to the task
Make a short list of nighttime tasks: walking to the restroom, finding gear, cooking, reading, and entering the tent. Choose a separate, simple approach for each task rather than leaving one strong lamp on all evening.
- Walking: Use a handheld light or headlamp pointed at the ground ahead. Switch it off when you stop, and avoid sweeping the beam across other campsites.
- Finding items: Use a close, low setting and bring the light near the object instead of flooding the whole area.
- Cooking: Use enough light to see food, utensils, and the cooking surface. Position it to illuminate the work area without shining at neighboring tents or people.
- Relaxing: Use low-level, downward-facing light only if needed. Let natural darkness do the rest.
- Entering a tent: Turn off exterior lights before opening the door when their beam would point toward another site.
A headlamp keeps hands free, but its beam moves with your head. Turn it off or angle it down when talking face-to-face. A red setting may feel less glaring to some people, but it can still be visible and does not guarantee that neighbors will find it unobtrusive. Check your surroundings before using any color or brightness setting.
3. Control direction and spill
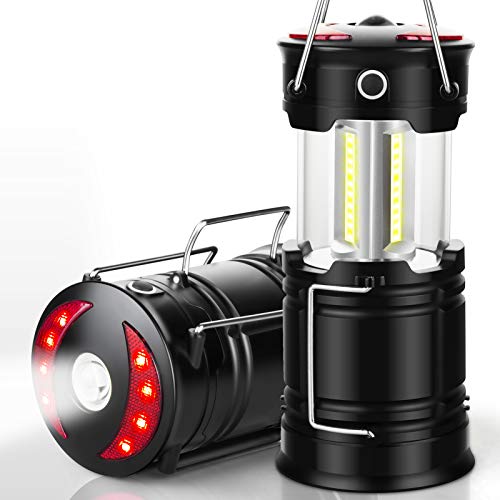
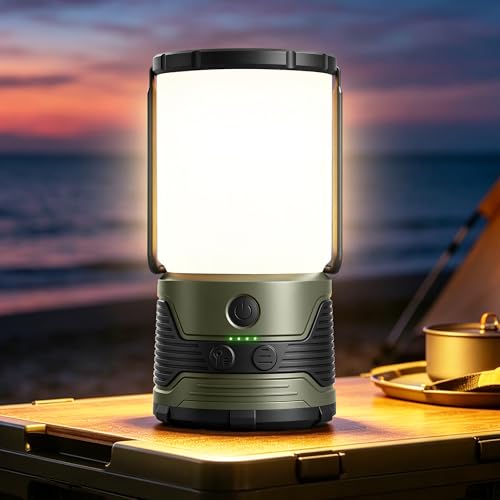
Point light toward the ground or the specific surface that needs illumination. Place lanterns low on a table or stable surface, with openings and reflectors directed inward. Avoid hanging lights high or placing them at the edge of a site, where they can send light farther across the campground.
Before nightfall, test each light from outside your tent and from the edge of your site. Look for direct glare and bright patches reaching beyond your campsite. Rotate or lower the light, choose a dimmer setting, or move the task closer. Repeat the check after darkness; light can travel farther than it appears in daylight.
Do not point a light at a tent wall to create a glowing lantern effect if that glow reaches other sites. Light-colored fabric can spread illumination beyond the area you intended. For a personal reading light, keep it close and use only enough brightness to see the page.
4. Set a lighting schedule
Agree on a simple routine with everyone in your group: use task lighting when needed, switch it off between activities, and dim or stop nonessential lighting during quiet hours. Quiet-hour rules differ, so use campground guidance as the standard. A timer or motion sensor can help reduce forgotten lights, but check its operation and avoid settings that trigger repeatedly from passing people or wildlife.
Keep a small backup light easy to reach for late-night trips. That reduces the temptation to leave a large lantern on. Store lights and charging equipment so you can find them without turning on every light at once.
5. Check power, weather, and safe placement
Charge rechargeable lights before leaving, bring compatible charging cables, and check battery indicators if available. If using a power station, match expected use to its capacity and follow its manual. Keep charging equipment dry and protected from damage as directed by the manufacturer. Do not assume a water-resistance rating makes a light safe to submerge or suitable for every storm; check its manual for limits.
Place lights where they will not tip, overheat nearby materials, obstruct walking routes, or create a trip hazard. Keep cords out of paths and away from hot cooking surfaces. Follow the equipment manual for charging, storage, temperature limits, and cleaning. Campground rules or local fire restrictions may add requirements, especially during dry or windy weather.
Use battery-powered lights inside tents. Never operate fuel-burning equipment inside a tent or enclosed shelter; combustion can create carbon monoxide and fire hazards. Use fuel-burning lanterns only as their manufacturer directs, outdoors, and in compliance with campground rules. For cooking equipment, consult its manual and the site’s fire guidance; a camp stove guide is separate from lighting advice and does not replace either.
Practical checks before bed
- Walk the edge of your site and check for light spilling toward neighboring tents.
- Turn off unused lights, including lights inside vehicles or equipment that are visible to others.
- Confirm paths remain clear of cables, lanterns, and gear.
- Store lights where they can be reached without searching in the dark.
- Recheck after moving a lamp, changing its setting, or opening a tent door.
Common mistakes to avoid
Leaving a lantern on all night: It adds unnecessary spill and may disturb nearby campers. Turn it off when the task ends. Using maximum brightness by default: Start low and increase only if you cannot see safely. Assuming red light is invisible: It remains visible and can still intrude. Wearing a headlamp during conversation: The moving beam can hit faces; switch it off or aim it at the ground. Ignoring rules: Quiet hours and equipment restrictions vary by location, so check official campground information.
Optional supporting equipment
A headlamp can support close-up tasks while keeping hands free, but it still needs careful aiming and shutoff habits. The headlamp guide offers related context. One optional example is the Lepro Rechargeable LED Headlamp Bright Waterproof, which lists spot, flood, and red-light modes, USB-C charging, and an adjustable angle. Treat product water-resistance and runtime details as manufacturer claims; check the current manual for operating limits.

Pros
- High 2000 lumen brightness
- Long 500 foot beam reach
- USB rechargeable with 15 hour runtime
- Lightweight at 2.65 oz
- IPX4 water resistant for wet conditions
Cons
- No motion sensor on this model
- Battery life varies with mode use
- Limited to 2 pack without additional options
Specifications
| Additional Features | Adjustable Focus, High Power, Impact and water resistance, Long Range, Rechargeable |
|---|---|
| Power Source | usb rechargeable headlamp |
| Light Source Type | LED |
| White Brightness | 2000 lumens |
| Voltage | 3.7 volts |
| Battery Type | Lithium Ion |
| Number of Batteries | 2 Lithium Polymer batteries required. (included) |
| Water Resistance Level | Waterproof |
| Battery Description | Lithium-Ion |
| Light Source Wattage | 5 watts |
Verify the current product variation before purchase; specifications may change.
Detailed Review
What stands out in the currently available product data:
- 2000 lumens of super bright LED light for long-range visibility up to 500 feet
- 6 lighting modes including spot, flood, and red light for adaptable use in various conditions
- USB rechargeable with up to 15 hours runtime on a single charge, reducing battery waste
- Lightweight at 2.65 oz with an adjustable, sweat-proof headband for comfortable extended wear
- IPX4 water-resistant with polyethylene coating for reliable performance in rain and rough handling
- Includes 2 headlamps and USB-C cable, ideal for sharing or backup during group trips
Best For / Avoid If
Best for buyers prioritizing
- High 2000 lumen brightness
- Long 500 foot beam reach
- USB rechargeable with 15 hour runtime
Consider another option if
- No motion sensor on this model
- Battery life varies with mode use
- Limited to 2 pack without additional options
FAQs
How bright should campsite lighting be?
Use the lowest setting that lets you complete the task safely. There is no single brightness level that fits every campsite, task, or campground rule. Test the beam at night and reduce spill beyond your site.
Is red light always better for neighbors?
No. Red light can still be bright and visible to other campers. Direction, brightness, and duration matter. Choose the setting that serves your task while creating the least disturbance.
Should I leave a lantern on overnight?
Usually, turn it off when it is not needed. Keep a small light within reach for trips or emergencies, and follow campground rules. Do not leave fuel-burning equipment operating in a tent or enclosed shelter.
What should I do if my light shines into another campsite?
Switch it off or lower it, then reposition or aim it toward your task. If you cannot prevent spill, choose a more localized light source or move the activity. Respect quiet hours and respond calmly if a neighbor raises a concern.