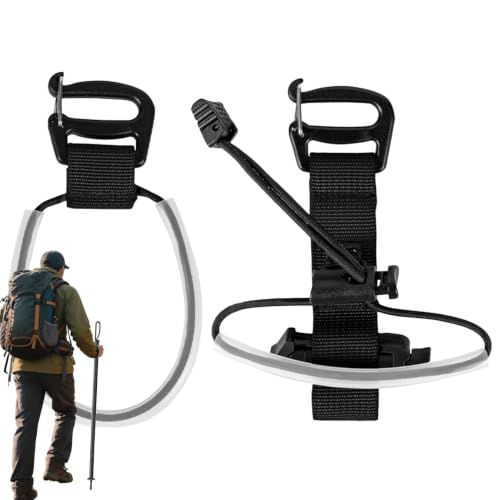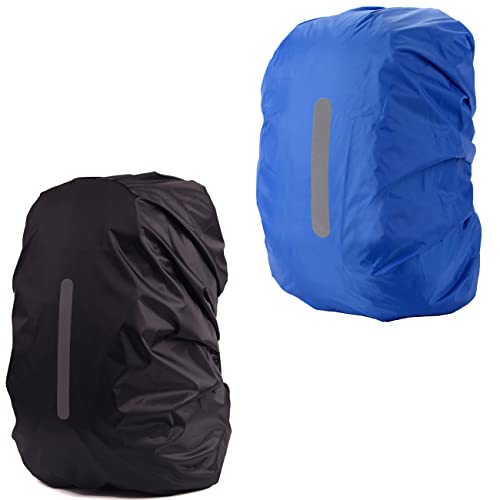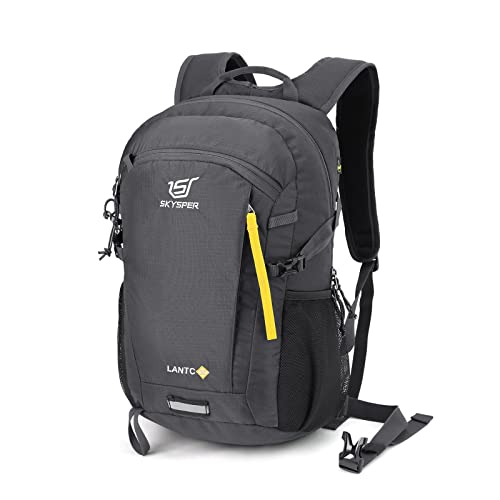

To stop a backpack from bouncing while hiking, secure the load close to your back, position the hip belt over your hip bones, and tighten shoulder straps until the pack feels stable without restricting breathing or movement. Then adjust the load lifters and sternum strap, secure loose gear, and walk briefly to check the fit.
Bounce often comes from a pack that is too large or poorly adjusted, a loose hip belt, or heavy items shifting inside. Fix the cause rather than pulling every strap as tight as possible. Excessive tension can cause pressure, rubbing, numbness, or restricted movement.
1. Check pack fit and hip-belt position
Loosen the shoulder straps and load-lifter straps before putting on the pack. Put it on, lean forward slightly, and buckle the hip belt. The padded belt should sit over the top of your hip bones, not ride high around your waist or hang below your hips. Tighten it enough to keep the pack from sliding, while still allowing comfortable movement.
Most pack weight should rest on the hips when the pack is designed with a supportive hip belt. If the belt slips, check whether the pack’s torso length is suitable and whether the belt is centered. A belt that is too loose, too high, or the wrong size will not stabilize the pack well. Follow the pack maker’s fitting instructions, since adjustment systems differ.
2. Tighten shoulder straps and load lifters
After setting the hip belt, pull the shoulder straps down and back until they make steady contact with your shoulders. They should hold the pack close without digging in or carrying all the load. If the shoulder straps lift away from your shoulders, or the pack leans backward, check torso fit and load-lifter adjustment.
Load lifters connect the upper shoulder straps to the pack. Tighten them gradually so the pack’s upper section comes closer to your body. They should not be pulled so hard that they lift the hip belt off your hips or create painful pressure. Some smaller packs or designs have limited or no load-lifter adjustment; use the fit steps available on your model.
3. Set the sternum strap without constricting yourself
Fasten the sternum strap across your chest, then adjust its height and tension so the shoulder straps stay in place. It should not pull the straps inward enough to restrict breathing, pinch, or interfere with arm movement. The sternum strap can help control strap movement, but it cannot compensate for a loose hip belt or an incorrectly sized pack.
4. Pack heavy items close to your back
Open the pack and look for objects that can shift or swing. Place denser items close to your back, generally near the middle of the pack, and surround them with softer gear to limit movement. Keep items you need often accessible, but avoid hanging heavy objects from the outside. Their leverage can pull the pack backward and increase sway.
- Use compression straps to draw the pack’s contents inward.
- Fill empty spaces with clothing or other soft gear so contents cannot slide.
- Secure trekking poles, sleeping pads, and other external items at multiple attachment points, if the pack allows.
- Check that water bottles, hip-belt pockets, and dangling straps are fastened.
- Keep the total load within limits stated by the pack maker and within your own comfortable carrying capacity.
A pack that is too large or too heavy can bounce even after careful adjustment. Remove nonessential items and reassess. If you are choosing a pack for short outings, see our guide to hiking daypacks. For hydration-compatible setups, our page on hydration backpacks for day hikes covers another pack style.
5. Do a short movement check
Before setting off, walk on level ground, step up and down, and bend or turn as you would on the trail. Notice whether the pack rises and falls independently of your body, shifts side to side, or pulls backward. Tighten or loosen one adjustment at a time, then repeat the check. Small changes make it easier to identify which strap or load position caused the problem.
Recheck the fit after a few minutes of walking and after adding or removing layers or gear. Webbing can settle, and a changed load can alter how the pack rides. If you feel numbness, sharp pain, restricted breathing, or persistent rubbing, stop and readjust. Do not keep hiking through worsening discomfort.
Common mistakes that make bounce worse
- Over-tightening every strap: This can create painful pressure without correcting poor fit or shifting contents.
- Relying on the sternum strap: It steadies shoulder straps but does not replace a properly positioned hip belt.
- Carrying heavy gear outside: External weight can swing and pull the pack away from your back.
- Leaving air gaps inside: Loose contents move with each step. Compress and stabilize them.
- Ignoring torso fit: Strap adjustments have limits. A pack with unsuitable torso length or belt size may remain unstable.
- Adjusting only while standing still: A fit that feels fine at rest may shift during steps, climbs, or turns. Test it in motion.
Optional supporting equipment
A supportive frame and adjustable fit can help keep a loaded pack stable, but no pack eliminates the need to fit and pack it correctly. Consider your load, body fit, and intended use before choosing equipment.

Pros
- 65-liter main capacity
- Adjustable torso fit
- Ventilated back panel
- Multiple external storage zones
- Sleeping bag compartment
Cons
- Heavy for ultralight backpacking
- Large packed dimensions
- Load range needs careful fitting
Specifications
| Color | Burnt Olive |
|---|---|
| Size | 65L |
| Dimensions | 12 x 18 x 30 inches |
| Weight | 4 pounds |
| Product Group | Luggage |
| Binding | Apparel |
Verify the current product variation before purchase; specifications may change.
Detailed Review
What stands out in the currently available product data:
- 65-liter capacity stores extended-trip clothing, shelter, food, and cooking gear
- Adjustable Fit Pro torso system supports personalized carry and shared use
- Perimeter frame and aluminum stays help stabilize heavier loads
- Amp Flow back panel promotes airflow during warm-weather hiking
- J-zip access, wing pockets, and sleeping bag compartment organize gear
- Hydration compatibility supports easier water access on trail
Best For / Avoid If
Best for buyers prioritizing
- 65-liter main capacity
- Adjustable torso fit
- Ventilated back panel
Consider another option if
- Heavy for ultralight backpacking
- Large packed dimensions
- Load range needs careful fitting
When adjustment is not enough
If the pack still bounces after you reduce and stabilize the load, check the manufacturer’s fitting guidance and inspect buckles, webbing, seams, and frame components for damage. Do not use a pack with a damaged load-bearing part until you know it is safe to carry. Repair options depend on pack materials and construction; follow manufacturer guidance rather than assuming a patch, adhesive, or replacement part suits every model.
A professional pack fitting may help if you cannot find a comfortable adjustment. Fit advice cannot guarantee freedom from pain or injury, and individual anatomy and pack design matter. If discomfort persists, stop carrying that load and consider a different pack size or setup.
FAQs
Should a backpack sit high or low on your back?
It depends on pack design and torso fit. Start with the hip belt centered over your hip bones, then adjust shoulder straps and load lifters according to the manufacturer’s directions. The pack should feel close and stable, not hang from your shoulders or pull away from your back.
Should I tighten my hip belt or shoulder straps first?
Set the hip belt first, then tighten shoulder straps and adjust load lifters. Finish with the sternum strap. This order helps position the pack’s weight before fine-tuning upper-body contact.
Why does my backpack bounce when I run?
Running creates stronger movement than walking. A loose fit, shifting load, or pack not designed for running can cause bounce. Tighten and stabilize the pack without restricting breathing; if it still moves, reduce the load or use a pack designed for that activity.
Can I stop bounce by tightening the shoulder straps?
Not always. Shoulder straps alone may leave the load unstable and can cause pressure. Check hip-belt position, pack size, load placement, and compression as well. If the pack continues to shift, reassess fit and load rather than tightening until it hurts.